Oak galls have been used to make ink since the times of the Roman Empire, although writing tools were extremely expensive then. As many of the manuscripts held by Axbridge Museum are written in oak gall ink on parchment or vellum I have included this tutorial to show you how to make your own oak gall ink.
There are many different recipes for oak gall ink. However, this is the simplest recipe, that I found, and dates back to 1770. It makes a rich brown/black ink which works well with a dip pen, you will find that the ink darkens with age. However, there is some concern that oak gall ink can destroy paper over time, so until I have discussed this with the Senior Archives Conservator at Somerset Archives please don't use the ink for valuable documents.
The Recipe has only four ingredients, 1 pint water, 2oz oak galls, 1oz ferrous sulphate and 1/2 oz gum arabic. Traditionally the recipe would have used rain water, which I substituted with deionised water and the ferrous sulphate would have come from using an old rusty pot to make the ink or a handful of rusty nails in the mix but all the 'modern' ingredients I have listed are easily available and do the job well.
Step One
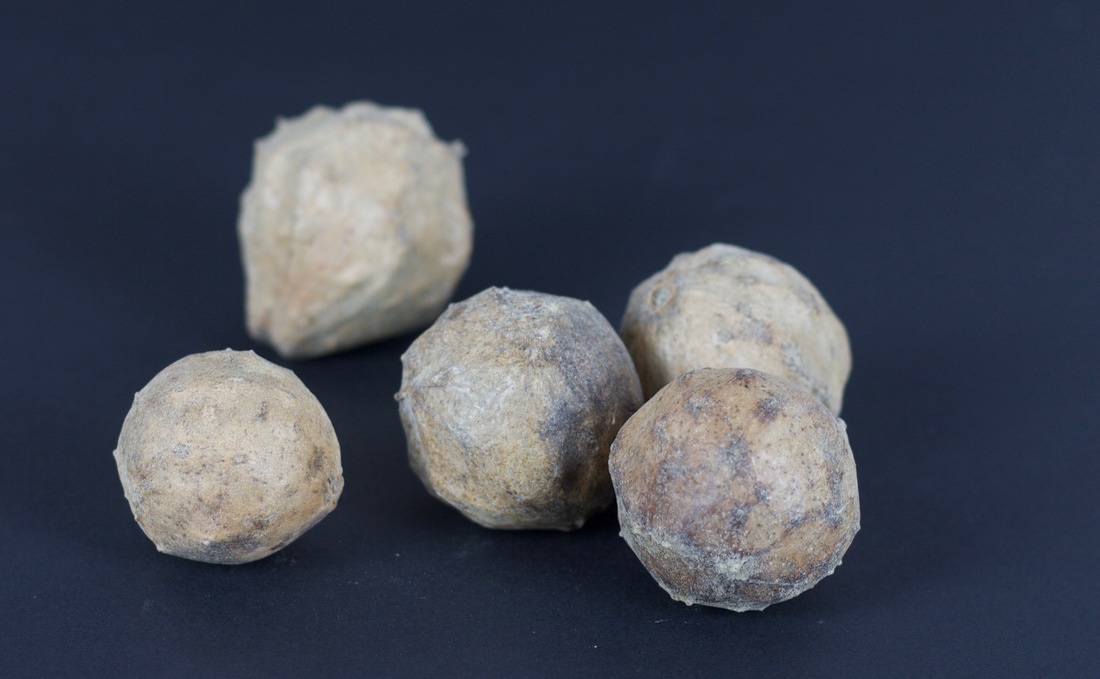
Oak Galls
|
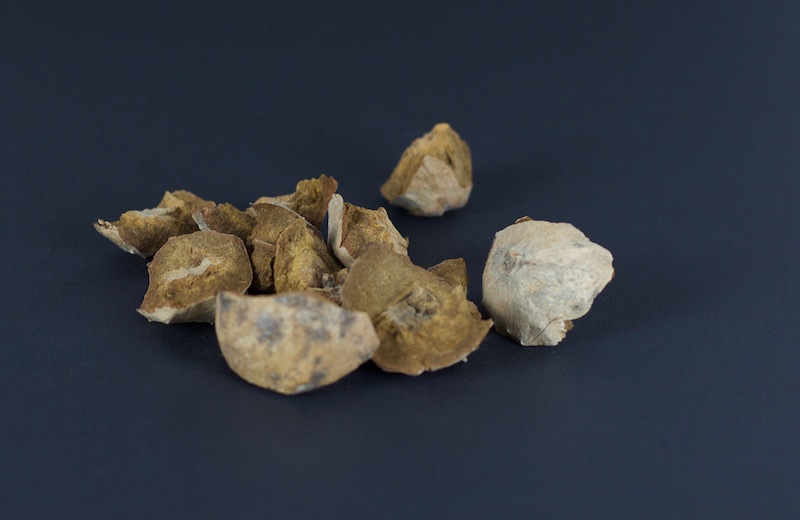
Broken Oak Galls
|
The oak galls are formed by the gall wasp laying its eggs into developing leaf buds. A chemical reaction between the larvae and the tree causes the tree to form around the larvae providing safety and food. You will see a small exit hole in the galls where the wasp emerges. Unfortunately, this project is running at the wrong time of year for me to gather the oak galls myself so I had to send away to Portugal for them.
My galls were dry and hard when I received them so I used a hammer to break them up. The oak galls provide tannic acid which is essential to this process so by breaking up the galls I am hoping to increase the amount of tannic acid in the ink. I was concerned that the galls were still too large so I then placed them in a pestle and mortar to crush them further. (the red stain on the pestle and mortar are residue from a previous project and nothing to do with the galls)
My galls were dry and hard when I received them so I used a hammer to break them up. The oak galls provide tannic acid which is essential to this process so by breaking up the galls I am hoping to increase the amount of tannic acid in the ink. I was concerned that the galls were still too large so I then placed them in a pestle and mortar to crush them further. (the red stain on the pestle and mortar are residue from a previous project and nothing to do with the galls)
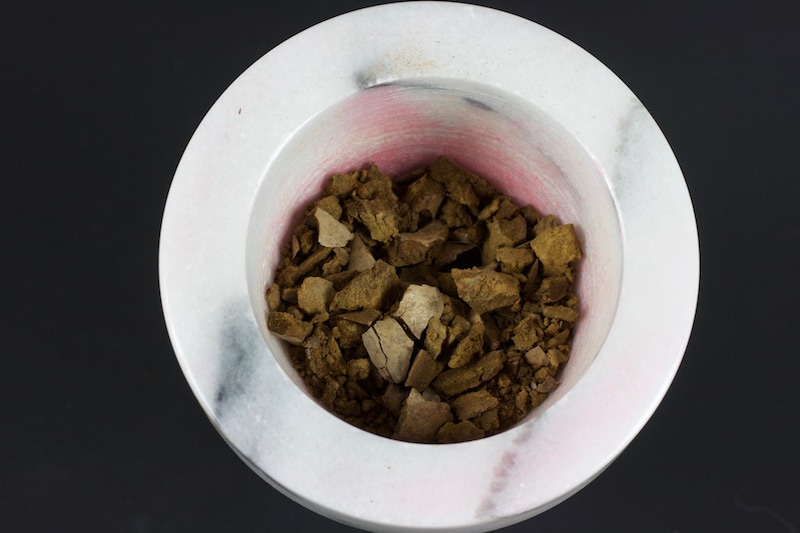
Oak galls crushed in pestle and mortar (red residue is from a previous project)
Step two
Once you have 2oz of crushed oak galls you need to soak them to release the tannic acid. The recipe I am using only calls for 24 hours of soaking but I left mine to soak over the weekend as I wanted to be sure of success.
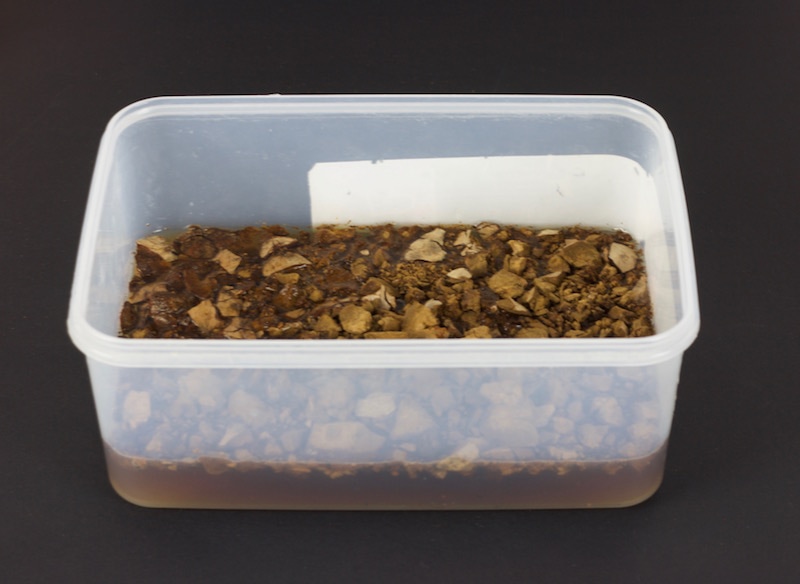
Oak Galls soaking in water
I placed 1 pint of water over the oak galls and sealed them in a plastic box. The weather is quite warm at the moment and many of the other recipes I have seen call for some sort of fermentation process, so I think putting them in a warm place might help - but this is just my opinion.
Step three
Oak Gall Solution
Pictured above is the oak gall solution after soaking for the weekend. You then need to strain the mixture, through a cloth, so that you are left with the stained water mix.

Oak gall mixture straining through cloth
Step four
Once the mixture is strained you are left with a pale amber liquid. I was a bit concerned a this point as I thought it was far to weak to make ink. Here is a picture below so you can compare your own mixture.
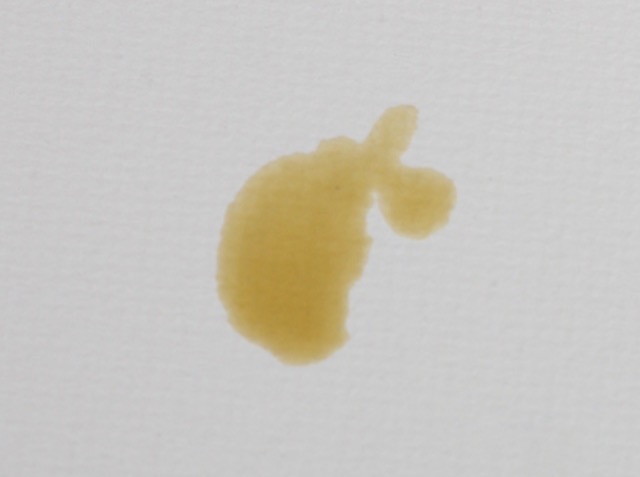
Oak gall stained water (before adding any other ingredients)
In this step you need to add the ferrous sulphate I think if you have soaked your oak gall/water mixture in an old rusty pan or put rusty nails in the solution your mixture will be much darker, as you will see from the pictures. The ferrous sulphate is a rather pretty and is an iron supplement. It has also been known as vitriol and copperas. It is created using sulphuric acid, I am not sure about any health concerns when using the ferrous sulphate so I used gloves when handling it.
Ferrous Sulphate
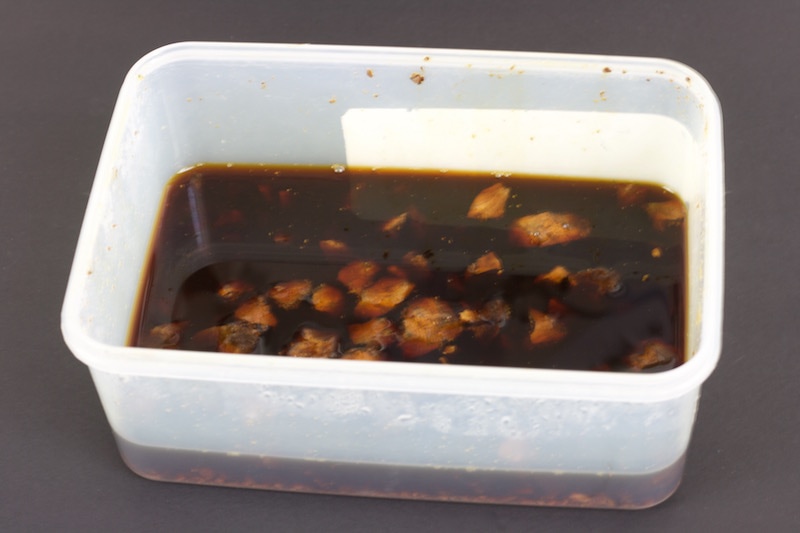
I added 1oz of ferrous sulphate to the oak stained water and gave it a stir. The results were immediate and the liquid became very dark (there is a picture below) .
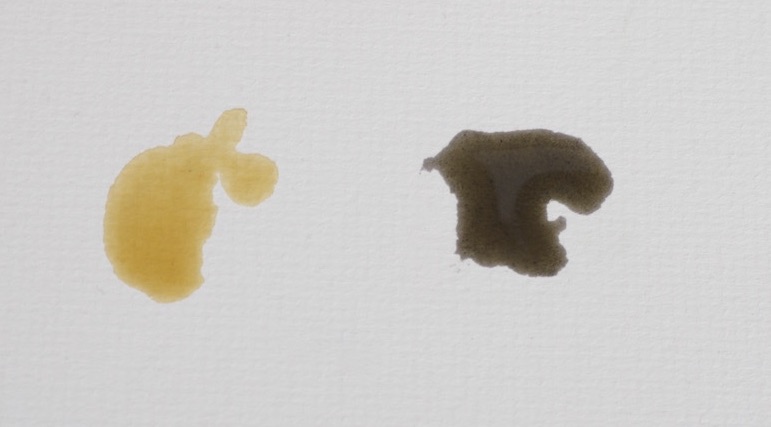
Oak gall mix before (left) and after (right) adding ferrous sulphate
Step five
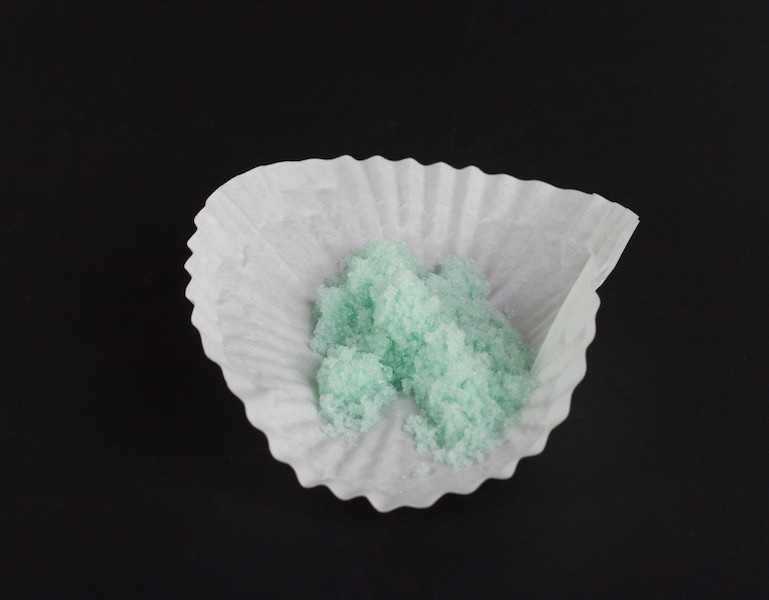
Although the mixture looks very much like ink at this stage it is not yet classed as ink. The solution needs the addition of a binder to add body and flow which is why you add 1/2 oz of gum arabic, which is made by collecting sap from acacia trees. I understand that the gum arabic keeps the pigment suspended in the ink and prevents settling over time.

Gum Arabic Crystals
The Gum Arabic comes in a few forms, liquid, ground or larger crystals. I would recommend getting liquid or the fine ground powder as the larger crystals that I got were difficult to dissolve in the mixture. Therefore, I used the pestle and mortar to grind them up finely. Once they were added to the mixture the solution became a bit more glossy. I have attached a picture but it is hard to see.
Addition of gum arabic to ink solution (bottom of image)
Footnote
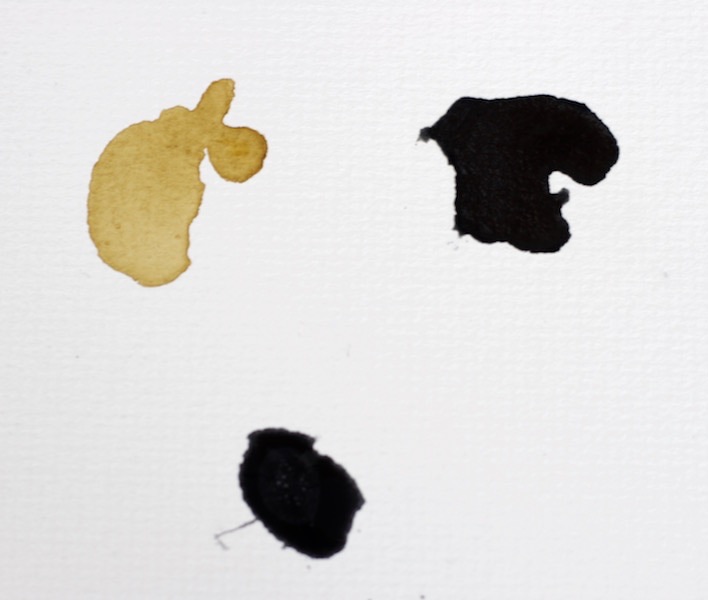
Oak Gall ink will darken over time as the pigment in the ink forms once it is exposed to air. Therefore, when using your ink don't be tempted to add any other stains to darken the ink, just leave it out in the air and you will see it goes a lovely dark colour
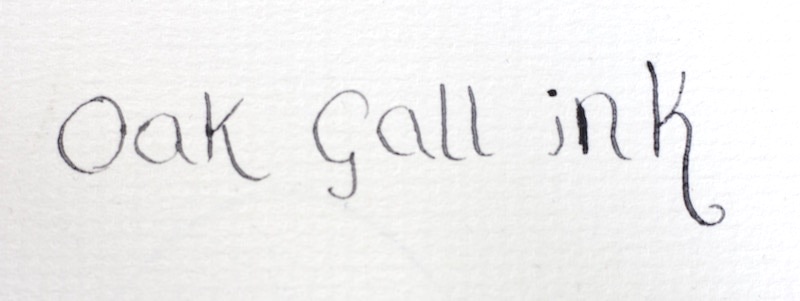
First attempt at writing with a dip pen and my new oak gall ink
